You will find a lot of grease, here. This is because under the previous cap, the diaphragm actuator has to be lubricated to freely rotate. Clean the grease, and remember to put it there again when remounting everything.
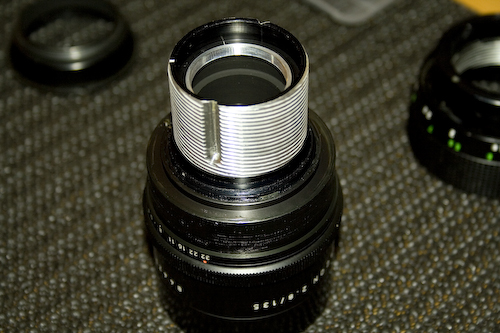
There is a strange screw locked in a tab, here, that couples the diaphragm actuator to the actual iris. Remove it, but TAKE EXTRA CARE because there is a spring, two rings behind, tensioning the whole assembly upward. Remove the screw whilst gently pressing down the actuator.
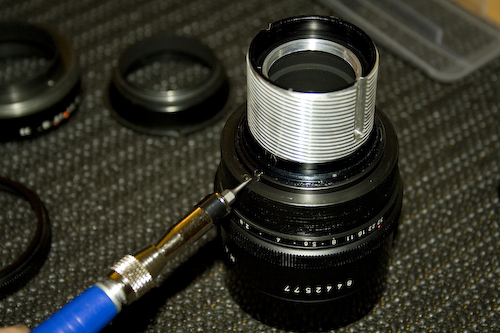
Then gently remove the slotted actuator ring.
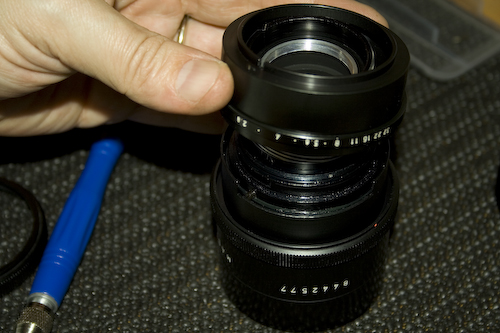
Another screw is exposed. It is the diaphragm stopper (it blocks the rotation at fully open and fully closed, not to damage the iris mechanism). Remove it, and remember there is a tensioning upward...
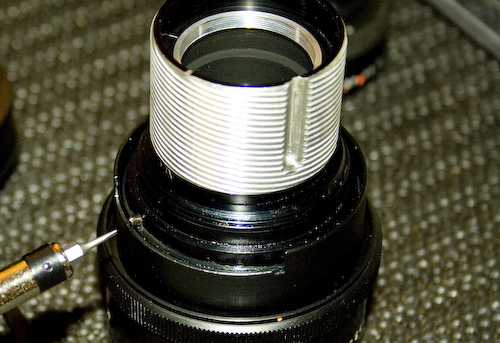
Remove the diaphragm step indicator. Under it there is a steel wire curved to act as a spring. Look at it carefully to understand how and where it is to be inserted when remounting (it slides in a circular slot, that has to be regreased).
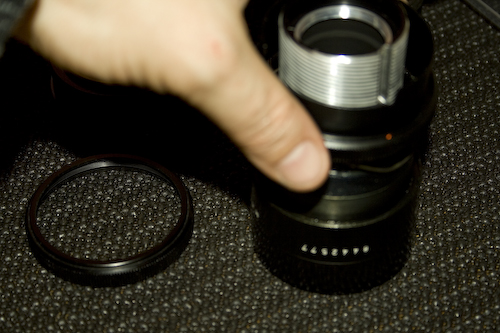
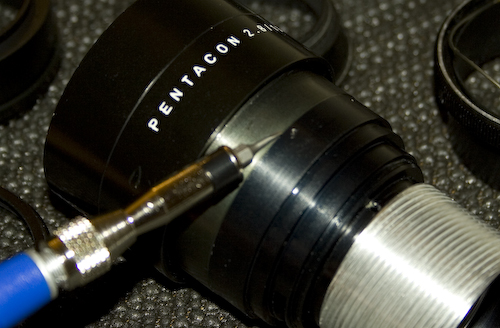
Clean thoroughly from grease; you will find on the side another OH SO TINY screw; same as before: loosen it, but don't remove it completely. It is evident at this point that this screw inhibits the unscrewing of the front element from the helicoid. Grasp firmly the two parts, and unlock them with a bit of force.
Page 4/6
