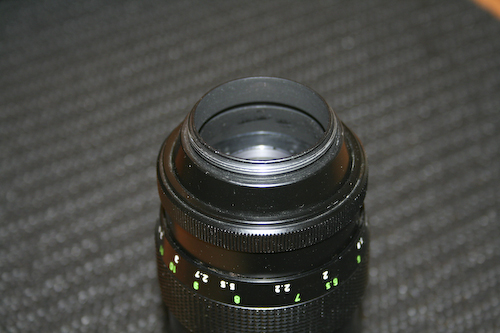
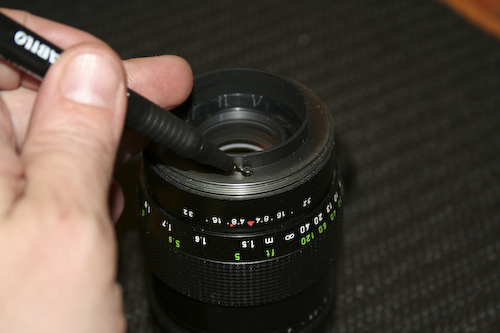
This is the patient. Don't care about its hygienic conditions, right now. We are going to perform a complete dismantling, so we will take care of dust and crud later.
[Looking at the front lens mounting, I decided to leave it alone. It looked really hard to remove the front lens without scratching the black paint, and besides that, all the lenses I overhauled had a complete access from the rear. I know there are exceptions, but a 'rear approach' looked like the most sensible thing to do. And it proved true...]
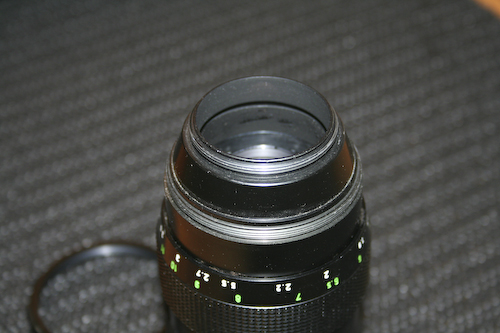
First of all, set the diaphragm to FULL OPEN, and leave it as it is for the WHOLE process. It is important, because you don't want to risk to damage the iris.
Then unscrew the mount retainer ring. This will let the M42 mount free. All these East lenses from the seventies/eighties were sold in different mounts (M42, M39, Praktica, etc...) so the mount is almost always easily removable:
Raise the mount, noticing a small lateral slot and a matching protruding screw (its purpose is clearly to prevent a rotation of the mount when attaching the lens to the camera)...
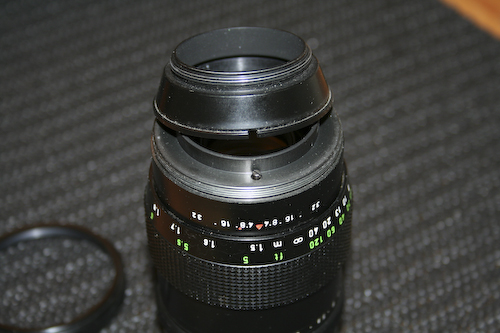
There are three screws under the mount. Two flat and one raised (the one cited before). Unscrew all three, and place them in a safe place. And remember, from now on MARK WITH THE FELT PEN THE POSITION OF EVERY ELEMENT REMOVED. Don't forget it. We will talk about marking again, and again.
In this case we mark the position of the 'anomalous' screw, both on the external and the internal surface of this first ring. This particular marking proved unnecessary, but you NEVER know, until you loose an unrecoverable adjustment. Just mark everything you remove, and you will be glad to have done it, for sure.
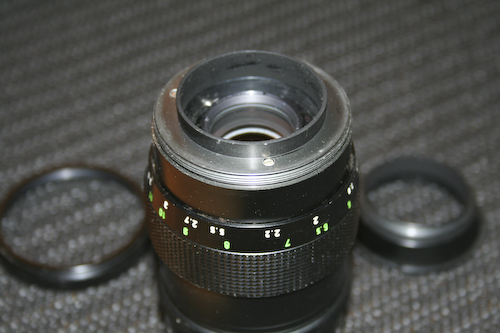
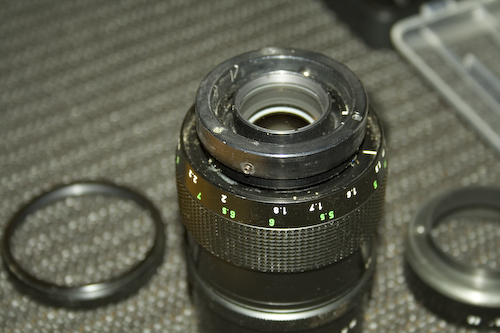
Everytime you remove something, do it slowly and carefully, FEELING the part. After removing the three screws, the whole cap with the diaphragm marks can be raised. But it has a 'scratchy' feeling... because it retains TWO springs at both sides of the lens. These springs push two small pinions agains the anti-rotation groove of the focus helicoid. If the removal of the cap is too fast, the springs will fly away, following a lot of Murphy's laws (last but not least: Any object when dropped will roll into the least accessible corner).

This is the view after the removal of the previous cap. Notice one of the springs. When putting again the cap in place, you will have to gently push the springs under the cap with a small screwdriver. But now remove them, and also the pinions they push, AFTER HAVING MARKED THIS POSITION for remounting. Put them away in a safe place again. [Beware of cats... they LOVE dropping on the floor very small screws and springs. Believe me.]
Now things get a bit tough...
Page 2/6
